Create an event
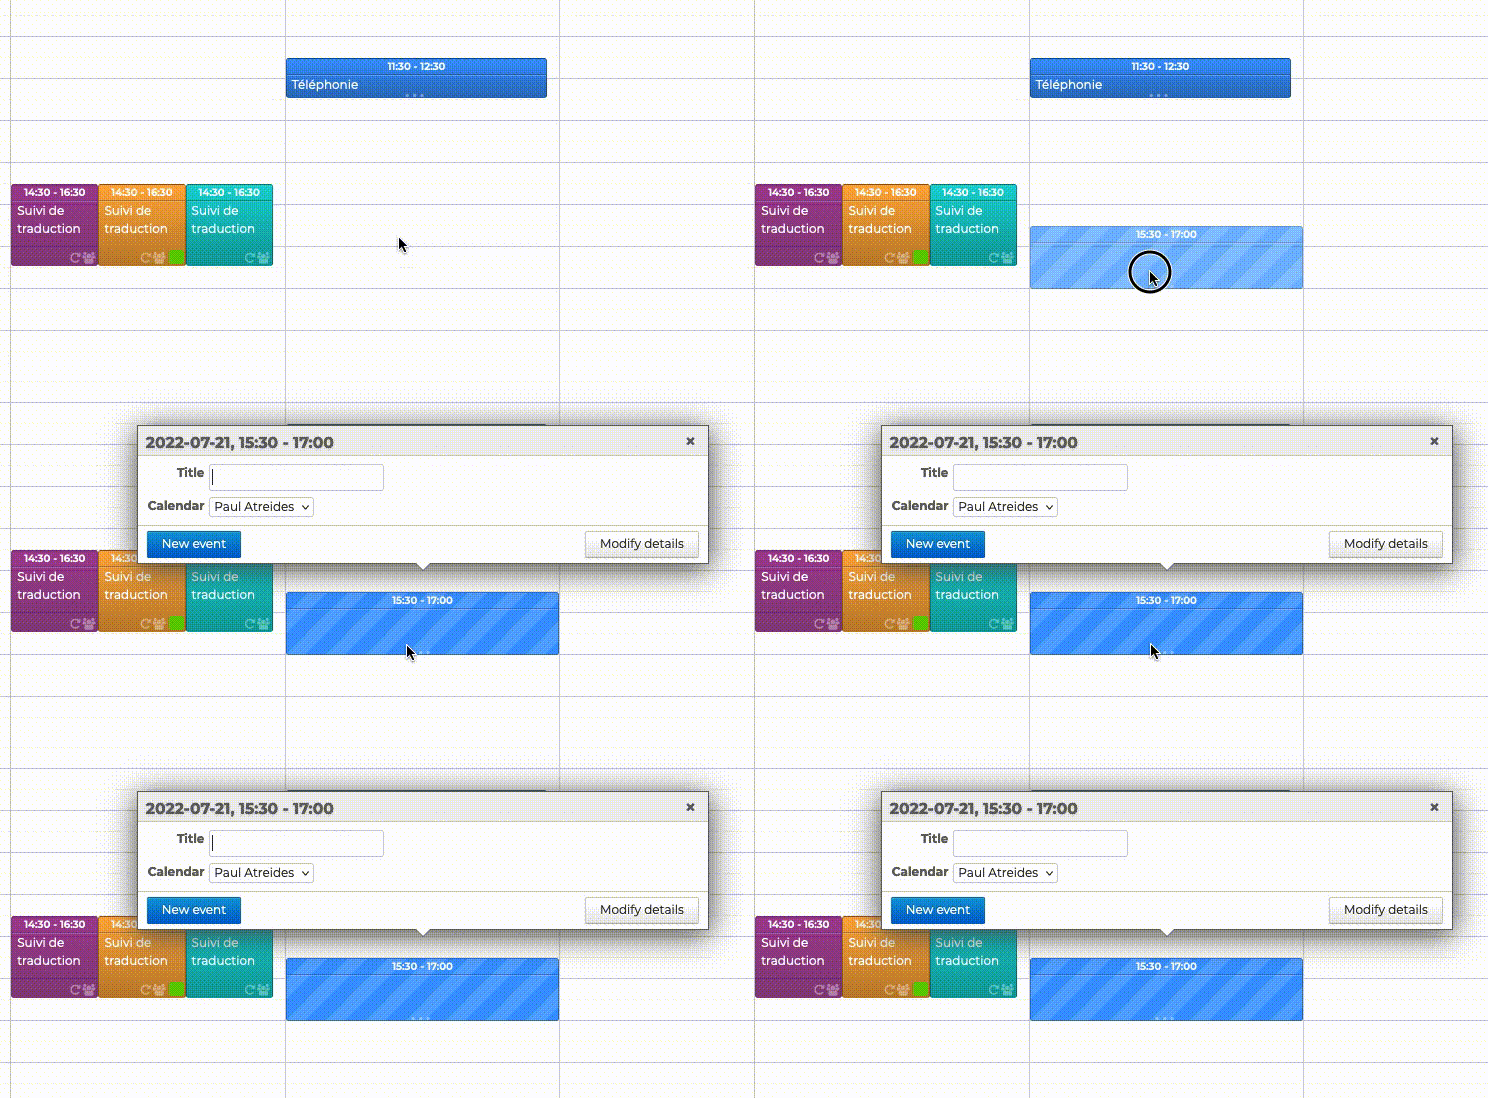
To add an event quickly, select the desired date and time in the main calendar area. The default duration is 30 minutes; press and hold, then drag to select the desired duration. Enter the event title and select the calendar from the pop-up window that opens instantly, then click ‘New event’.
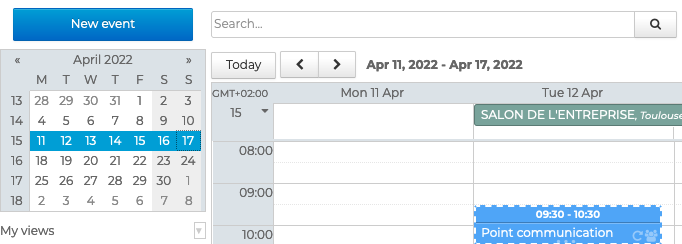
To add a new event, click on ‘New event’ at the top of the left-hand column of the calendar to open the creation form.
Adding tasks details
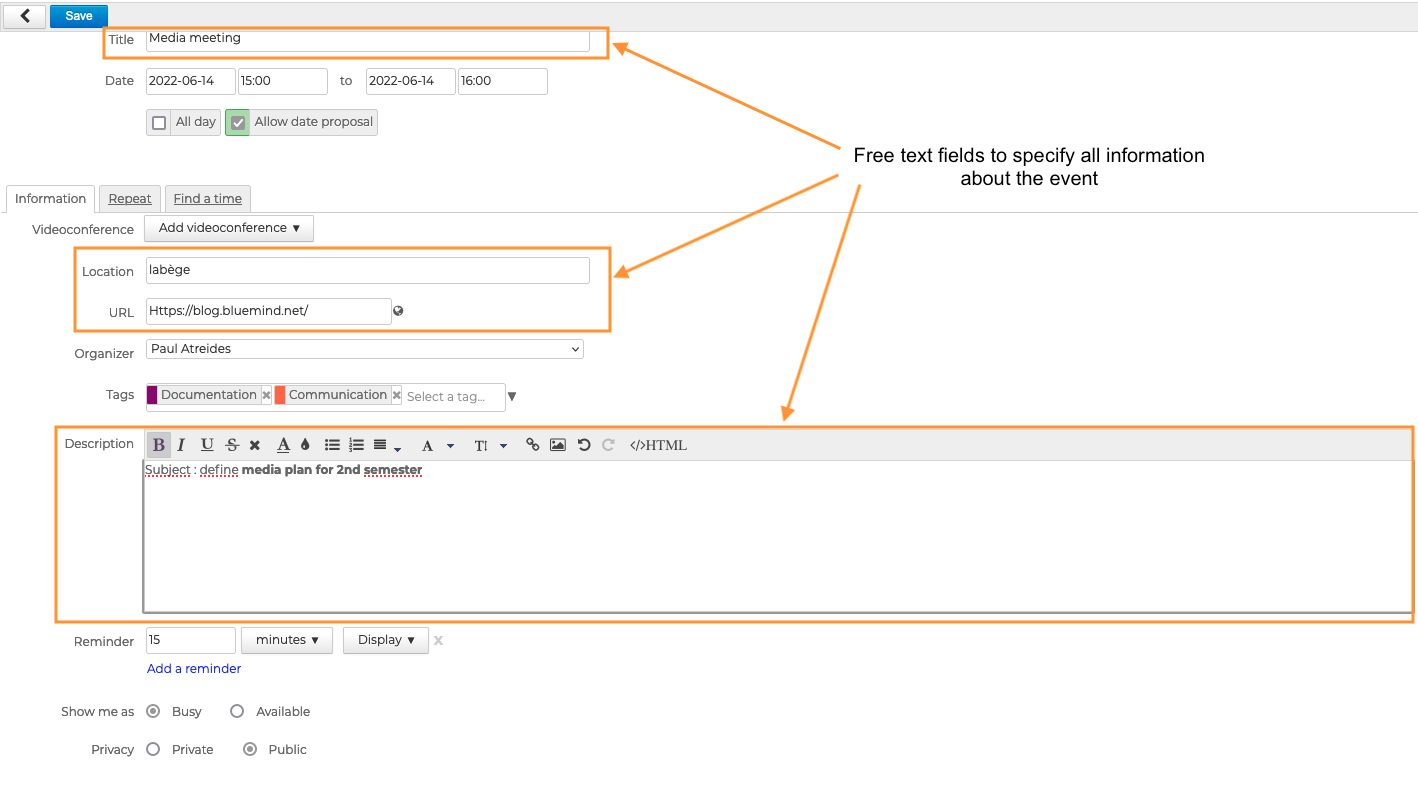
The ‘Details’ tab on the event details page allows you to enter all the necessary information:
- Title: specifies the name or main subject of the event – a required free-text field
- Date: specifies the start and end dates and times of the event
💡 When the “All day” option is ticked, the event is not restricted to specific times. By default, the user is considered to be Available
- Venue: address or details of the event’s location – free-text field
- URL: the internet address of a website, blog, download link, etc. – a free-text field that creates a hyperlink
- Description: provides any additional information – a free-text field, with the option to format the text, add images, links, etc.
It is also possible to send invitations to participants and Adding videoconferences.
Assign a calendar
The “Organiser” field allows you to select the calendar to which the event will be added and from which invitations to meetings will be sent.
The list automatically displays all personal calendars or shared calendars with write access AND which are visible in the current view.

This function allows you to add an event directly to another user’s calendar. For example, Paul Atreides has write access to Lagertha Lothbrok’s calendar. If he selects Lagertha Lothbrok’s calendar, the event will appear in Lagertha Lothbrok’s calendar, not in Paul Atreides’s. Similarly, for meetings, invitations will be sent in Lagertha Lothbrok’s name.
Adding tags
To make it easier to find events, you can add one or more tags to them.
To do this, select one or several tag(s) in the list by typing the first few letters of the tag - autocomplete displays matching tags.

If the tag does not exist, simply enter the text for the new tag and then click Create. Once the changes to the event have been saved, the new tag will be added to your list of personal tags.
To remove a tag, click the "x"
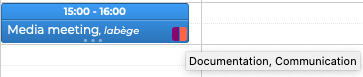
You can assign as many tags as you like. The tags are then visible on the event as coloured icons (maximum of 2). When you hover your mouse over the icon, the full list of tags assigned to the event is displayed.
The delegate only accesses their own categories, i.e., domain categories and their personal categories. A delegate or user with write rights on l'agenda cannot therefore assign the delegator's personal categories to the événements.
Set notifications, availability and privacy
The event details page also allows you to specify:
-
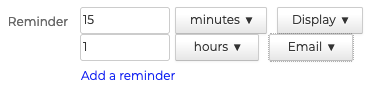
Reminder: by default, the reminder will be as defined in the calendar settings, but this can be changed for each event: click on the cross to delete a notification and on ‘Add an alert’ to create one or more new ones
-
Availability: by default, when creating an event, the user is marked as “Busy” for short events (with a start and end date and time) and “Available” for all-day events. This setting lets members of the organisation know whether the user remains contactable or can be invited during the event:

-
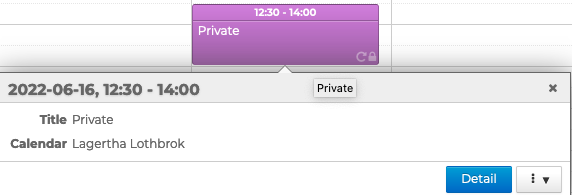
Privacy: by default, events are public. An event can be set to ‘Private’. In this case, users with access to the calendar will be able to see the event but not its details:

Delegation
Please note that, depending on the option selected, a delegate Can see my private events.For more information on creating and managing delegations, see Manage delegations.
Adding attachments
The last section of the form allows you to add documents to the event.
To activate this feature, the administrator must assign the appropriate rights to the user:
- Standalone attachments: allows you to attach files stored on the user’s computer
- Drive: allows you to attach files stored by the user on the BlueMind server
To add a file, click on ‘From computer’ or ‘From server’ and select the required document. Repeat to add another document.
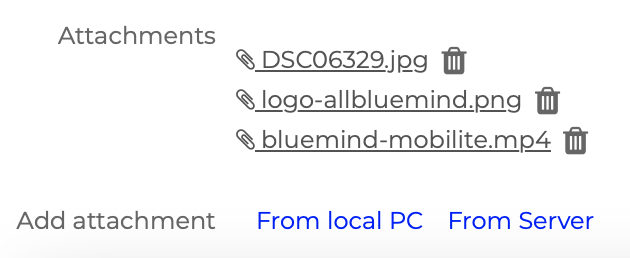
The documents will be accessible at any time within the event in the calendar. In the case of a meeting, participants will also be able to view them via the invitation email
Set up an event’s recurrence
For events that are set to recur regularly, such as a monthly meeting, the BlueMind calendar allows you to create the event just once and set the start, end and frequency of the recurrence. You can then edit an individual occurrence or the entire series.
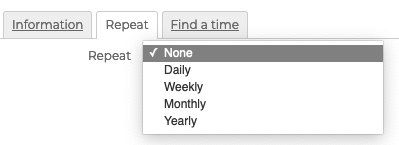
To set up an event to recur, go to the Recurrence tab and select the frequency: daily, weekly, monthly or yearly.
The recurrence can be fine-tuned by specifying the interval between events:
- Daily: the number of days between two events:
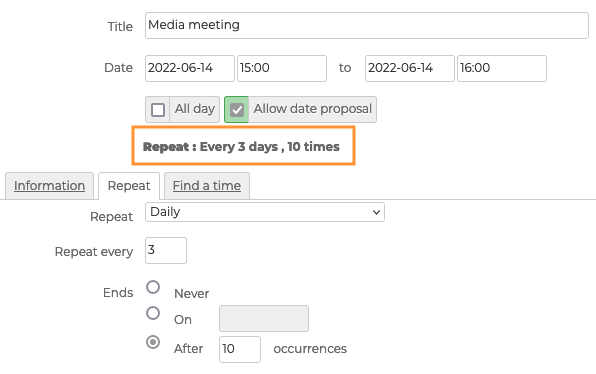
- Weekly: the number of weeks between two events and the days of the week on which the event will take place:
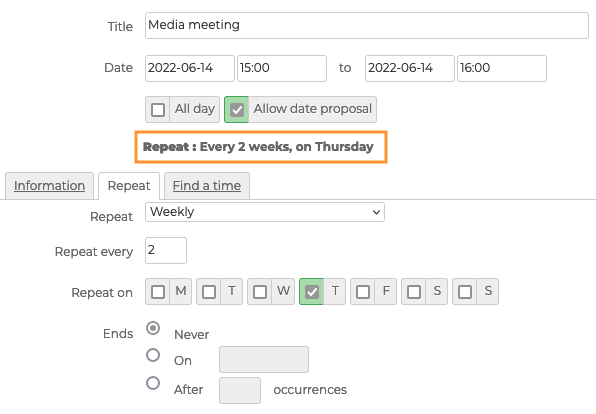
- Every month or Every year: the number of months or years between two events, and whether the event should be repeated on the same day of the month or the same day of the week:
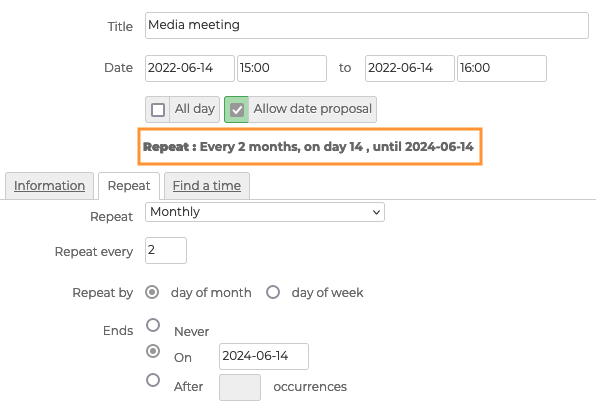
You can set the end of the recurrence by specifying the number of repetitions or an end date.