Integrating Video Conferencing with Lifesize
BlueMind can be connected to a Lifesize server to enable users to easily create conferences and link them to their calendar meetings.
Installing and Configuring Lifesize
Installing the Lifesize packages
To make the new features available to users, install the following packages on the server and then restart BlueMind:
- Debian/Ubuntu
- RedHat/CentOS
aptitude install bm-lifesize
bmctl restart
yum install bm-lifesize
bmctl restart
Enabling the resource
To activate videoconferencing for domain users, create a dedicated resource.
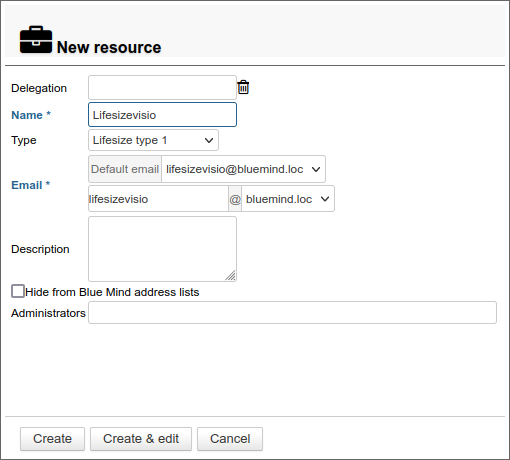
To do this, go to the directory management section of the administration console and create a resource of type Lifesize type 1:
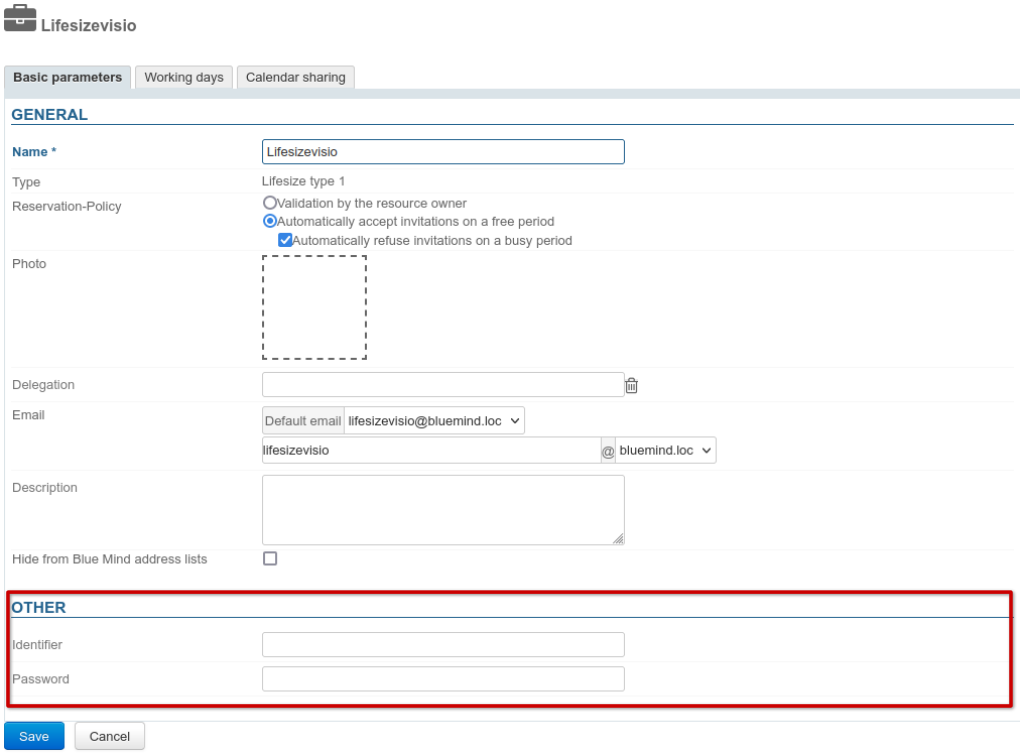
Then go to the resource file > General tab > Other section and enter the Lifesize server connection details:
Customizing the content pattern
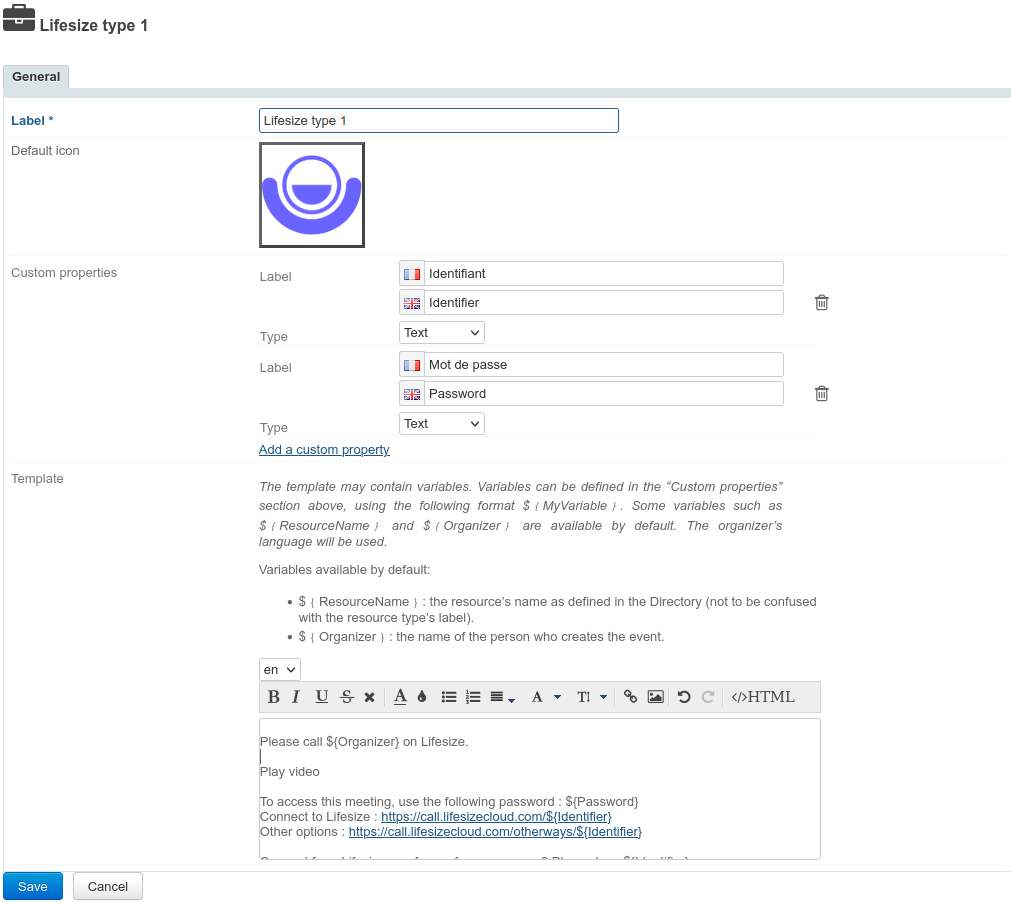
A content pattern is defined by default and can be customized in the resource type management Lifesize type 1 created when the package was installed:
-
Select the desired language from the drop-down list
ℹ️ Multilingual
Language settings are saved, so you can switch between them without having to save after each change.
To remove a language, clear the content field (select the text and delete it).When creating an event, the content will be added to the invitation based on the organizer's language.
-
Fill in the content:
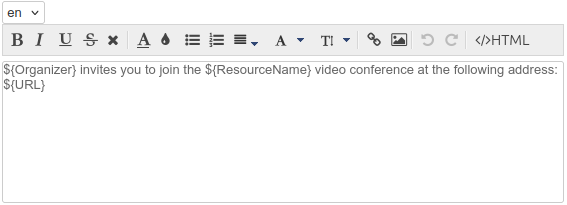
The template may contain variables, which are automatically replaced in the text by the system:${NomRessource}: the name of the resource as defined in the directory${Organisateur}: the name of the person creating the event in the Calendar${URL}: the conference access URL${siteURL}: Application-specific URL
When a user adds a video conference to their event, the text defined by the template is automatically added to the event and to the invitation email sent to participants:
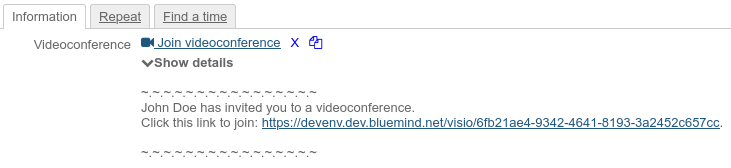
Accessing the videoconference
Giving users rights
Access to the new functionality is via the resource created at server configuration.
This resource is managed just like any other; it is through the sharing settings that you can grant booking permissions and, consequently, generate videoconference links. Therefore, you must grant a reservation right (a "can book this resource" sharing right or higher) to the desired users or groups so that they can create video conferences for their events.
By default, la ressource est partagée avec un droit de réservation simple, tous les utilisateurs peuvent lier une visioconférence.
As a resource, it can be assigned working hours or a reservation policy. However, as the link generated is unique, this will not affect the availability of the videoconference itself: the link will still be active and available outside these times.
Using the resource
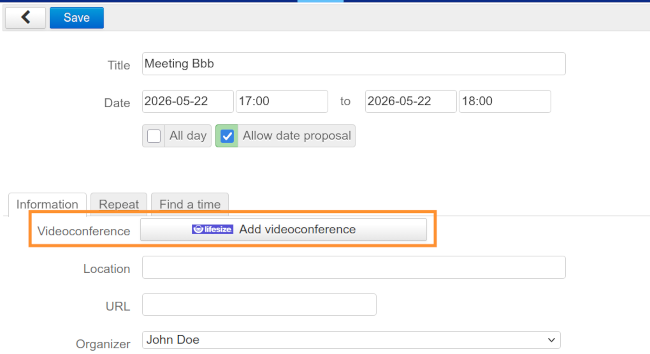
The resource must not (and cannot) be invited to an event from BlueMind by adding it as a participant: once the configuration is complete, you must use the available buttons:
- in the BlueMind navigation bar:

- In the interface for creating beneficiary events: