Configuring Thunderbird
Installing Thunderbird
Download and install the mail client from the publisher's website: https://www.thunderbird.net/fr/.
To take full advantage of the new features, be sure to install a version supported by BlueMind.
To find out which versions are supported, see the dedicated page: Compatibility.
Setting up your mail account
There are several ways to set up a mail account :
- When Thunderbird is first opened, a user profile is created, with the name left to the user's choice.
- If a profile already exists, there are 2 possible scenarios :
-
You want to use the existing profile to add the mail account: simply go to File > New > Existing mail account.
New access
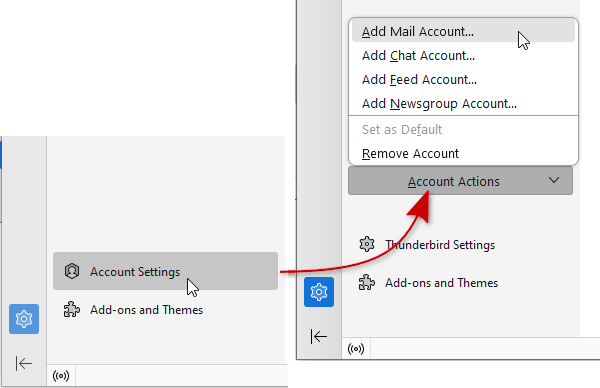
From Thunderbird 115 onwards, the menu is no longer displayed by default; settings can be accessed at the bottom left of the window, in the new “spaces bar”:
-
You'd like to create a new profile* : in this case, start the Thunderbird profile manager.
Once there, click on " Create a profile... ", then return to the management window, select it and click on " Start Thunderbird ".
-
Once one of these actions has been completed, the account configuration procedure begins :
-
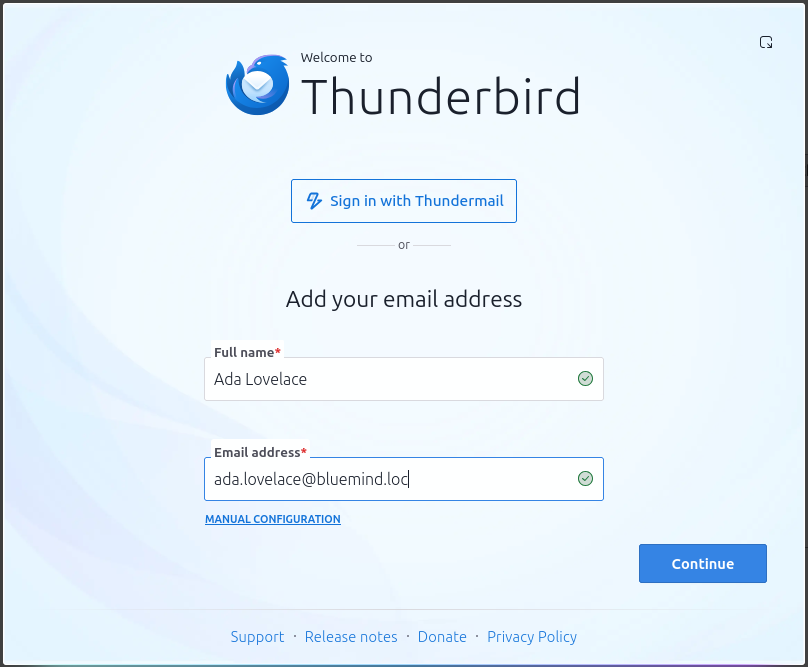
Enter the account name and email address, then click “Continue”:
-
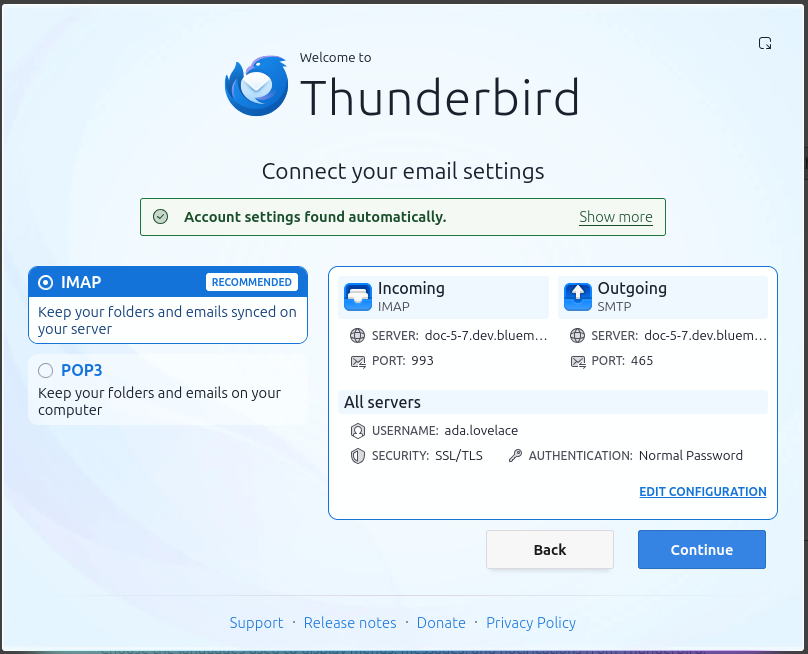
Thunderbird tries to connect to the server using this information, then displays the information found and validated :
Manual configuration
If automatic configuration fails, the manual configuration form is displayed:
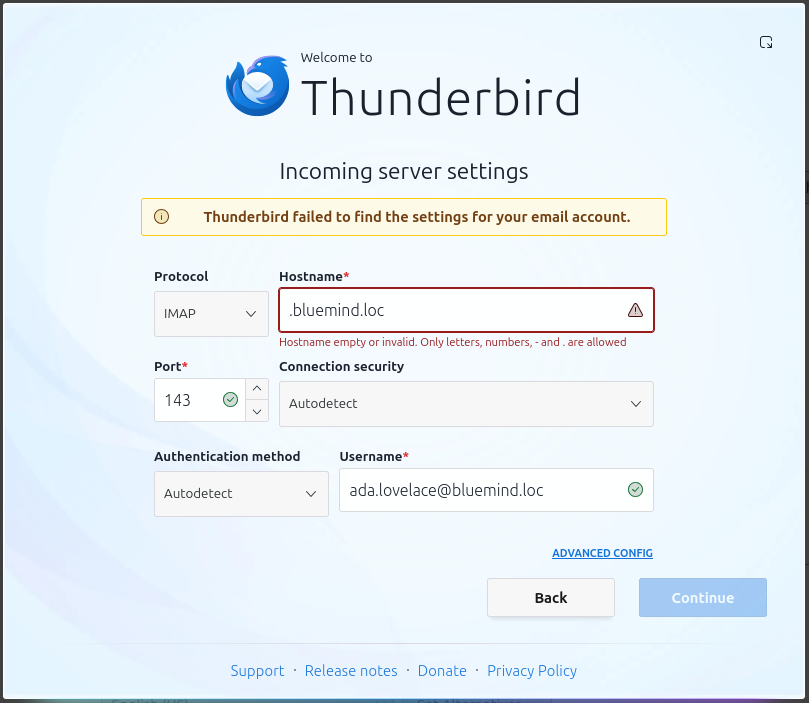
- Fill in the required fields :
- Protocol: IMAP or POP
- Hostname: The mail server must be provided by the administrator; it is usually in the form of server-name.domain.com
- Port: 143
- Connection security: Auto-detection or STARTTLS
- Authentication method: auto-detection or "Normal Password"
- Username: must match your full email address, including the domain. ↳ Thunderbird validates fields as you type
- Click "Continue" when all fields are valid, or click "ADVANCED CONFIG" to access additional server configuration settings.
⚠️
If the server refuses persistent to connect, check with the administrator to ensure that a ban on connecting without double authentication has not been set up.
For further information see : Editing users > Password. - Fill in the required fields :
-
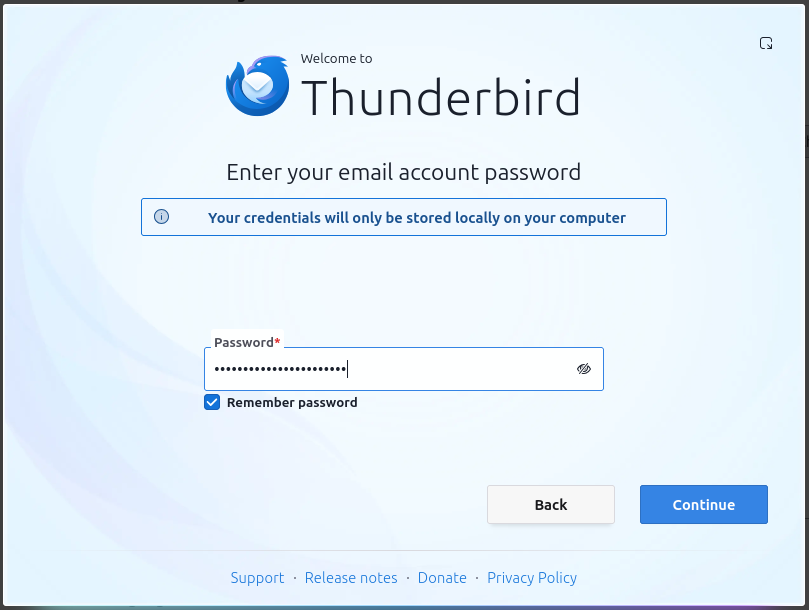
Enter the account password, then click “Continue”:
Synchronising contacts and calendars
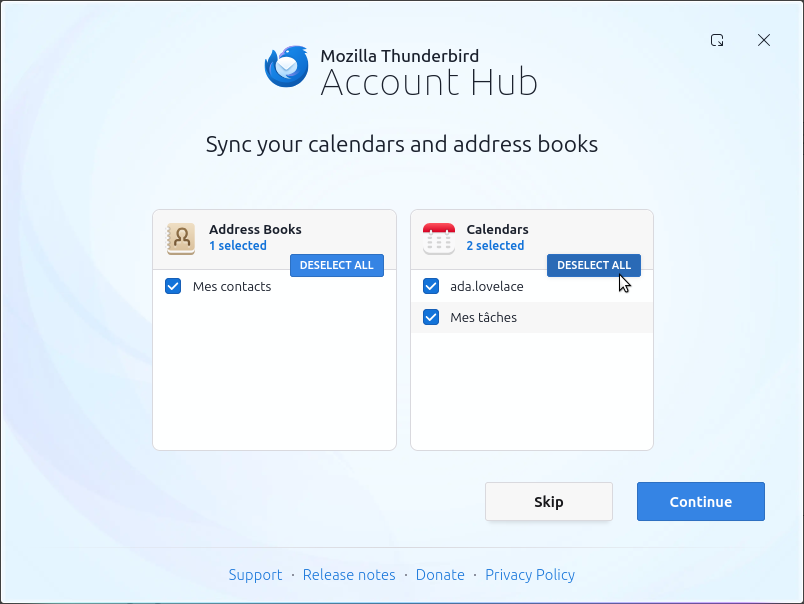
In some versions, Thunderbird offers to synchronise the account’s address books and calendars. This is not recommended; BlueMind advises using the connector ⇒ click ‘ Skip ’ or deselect all options before clicking ‘Continue’:
-
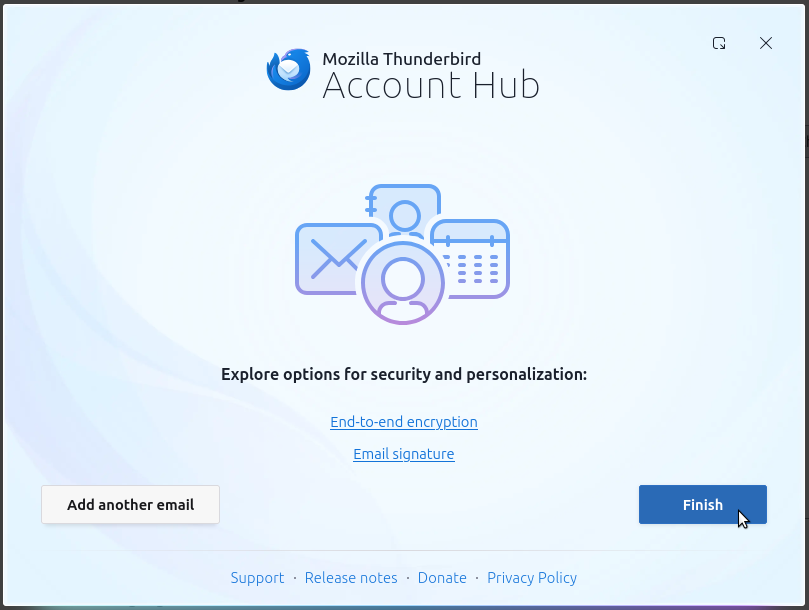
Thunderbird confirms that the account has been successfully created and offers additional options:
-
Click “Finish”
The account has been created!
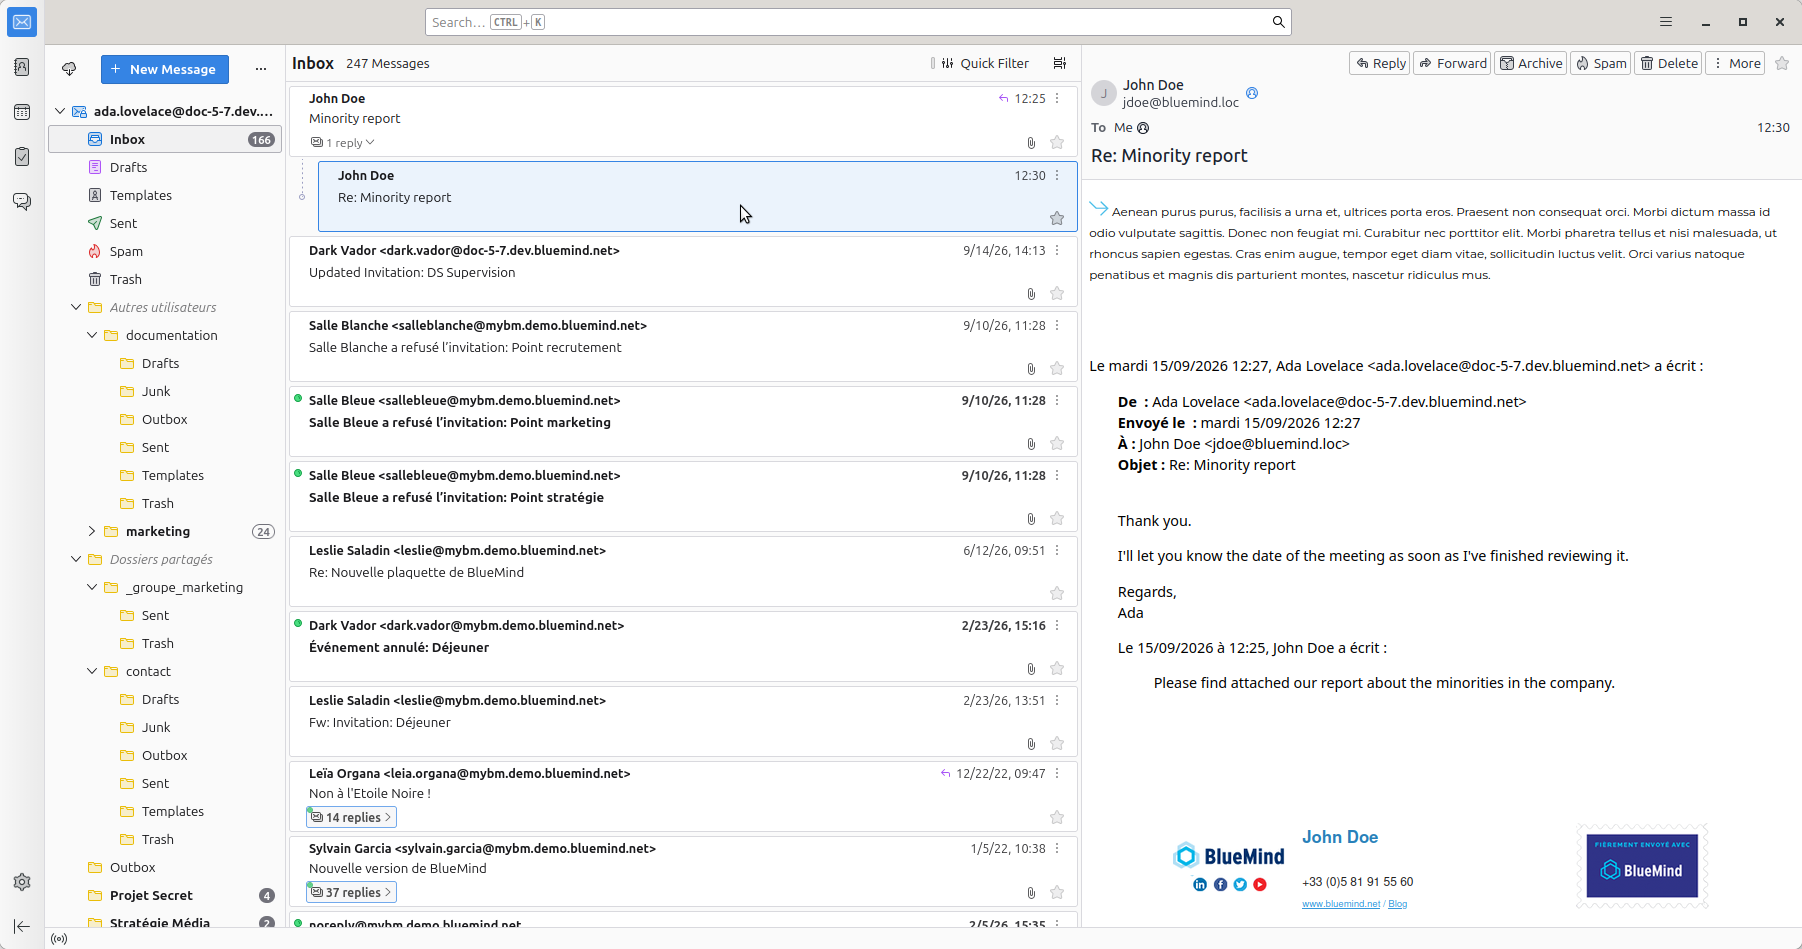
Thunderbird displays the main window and downloads mail app data (folder tree, emails, etc.):
The BlueMind connector
The connector provided by BlueMind synchronizes BlueMind's calendar and address books with Thunderbird. It also provides access to task management and to detach large attachments when composing messages.
Installing the connector
To install the BlueMind connector :
-
download the installation file from BlueMind preferences management interface, Downloads section:
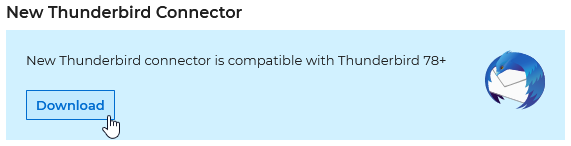
If the connector is not available in the downloads, please contact your system administrator to have it installed
-
in Thunderbird, go to Settings > Additional modules and themes :

-
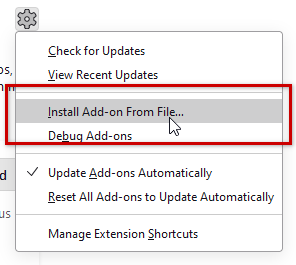
drag the downloaded .xpi file from the file explorer into Thunderbird's main window (this may take a few seconds) or choose to install a new module from the module tools menu:
-
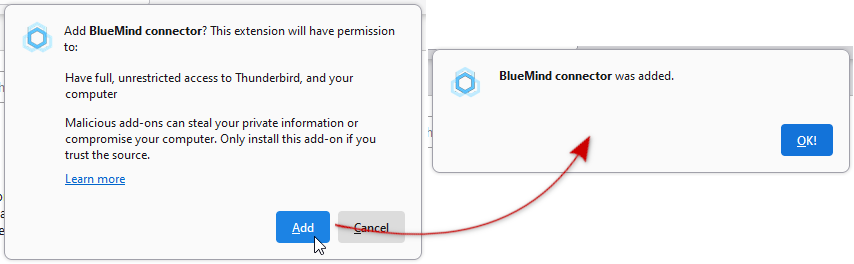
Confirm module addition and wait for confirmation :
-
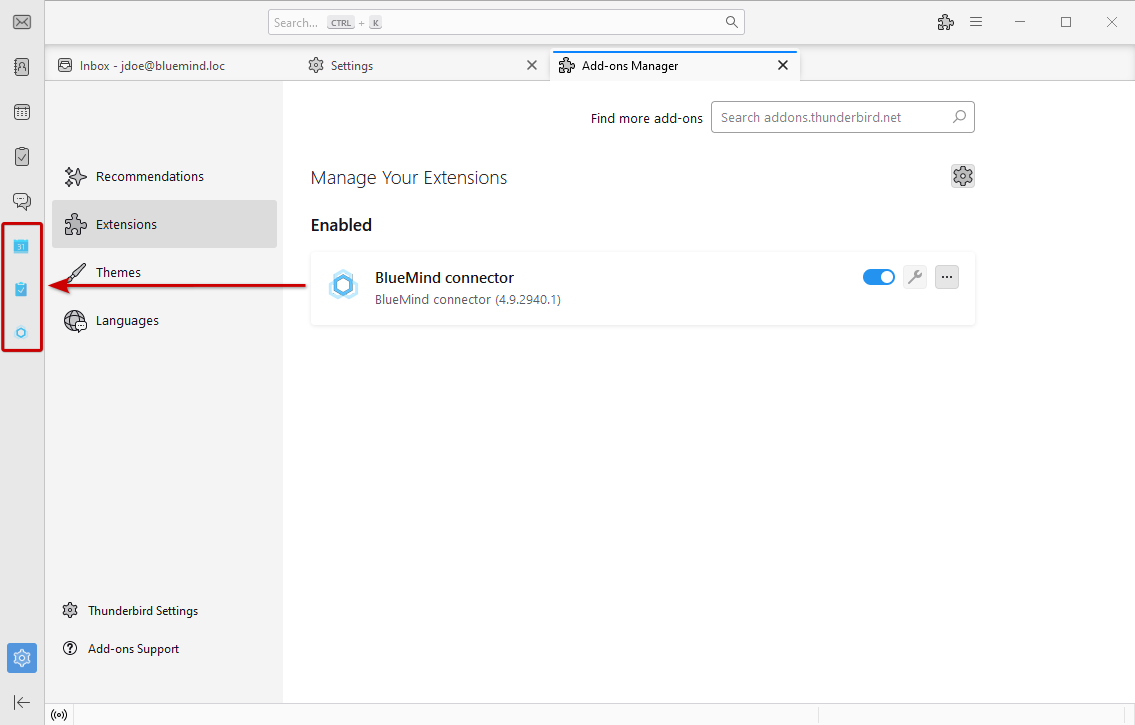
The installation does not require a restart; the buttons are added to the interface immediately :
Connector configuration
Account settings are automatically retrieved as soon as a BlueMind IMAP account is configured. If this is not the case, the account can be configured in the connector preferences management (see below).
-
A new menu has also been added to Thunderbird's "sandwich" menu in the window's title bar, giving access to the various BlueMind-specific functions (applications, preferences, synchronization):
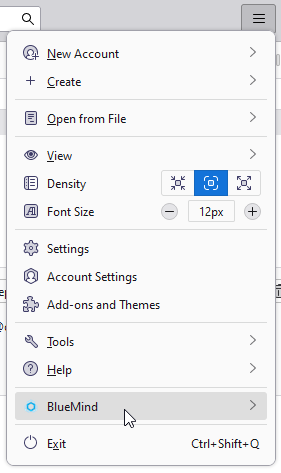
The Thunderbird connector synchronizes all elements automatically every 5 minutes. Synchronization can be forced manually at any given time via the "bento" menu > BlueMind > Synchronize
Managing connector preferences
Access is via Thunderbird's sandwich menu (see above) > BlueMind > BlueMind connector preferences :
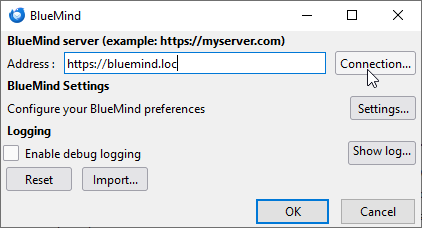
The connector preference management screen allows you to :
- Set BlueMind server address
- Configure the account connection parameters by clicking on the "Connection" button
- Go to Managing BlueMind preferences
- Enable detailed logging and consult logs
- Reset the connector
- Import Thunderbird contacts into BlueMind
Managing BlueMind Preferences
BlueMind gives Thunderbird users the ability to manage all their BlueMind preferences from within their software, without having to visit the BlueMind web application.
There are several ways to access preference management :
- menu Tools > BlueMind > BlueMind Preferences
- bento menu > BlueMind > BlueMind preferences
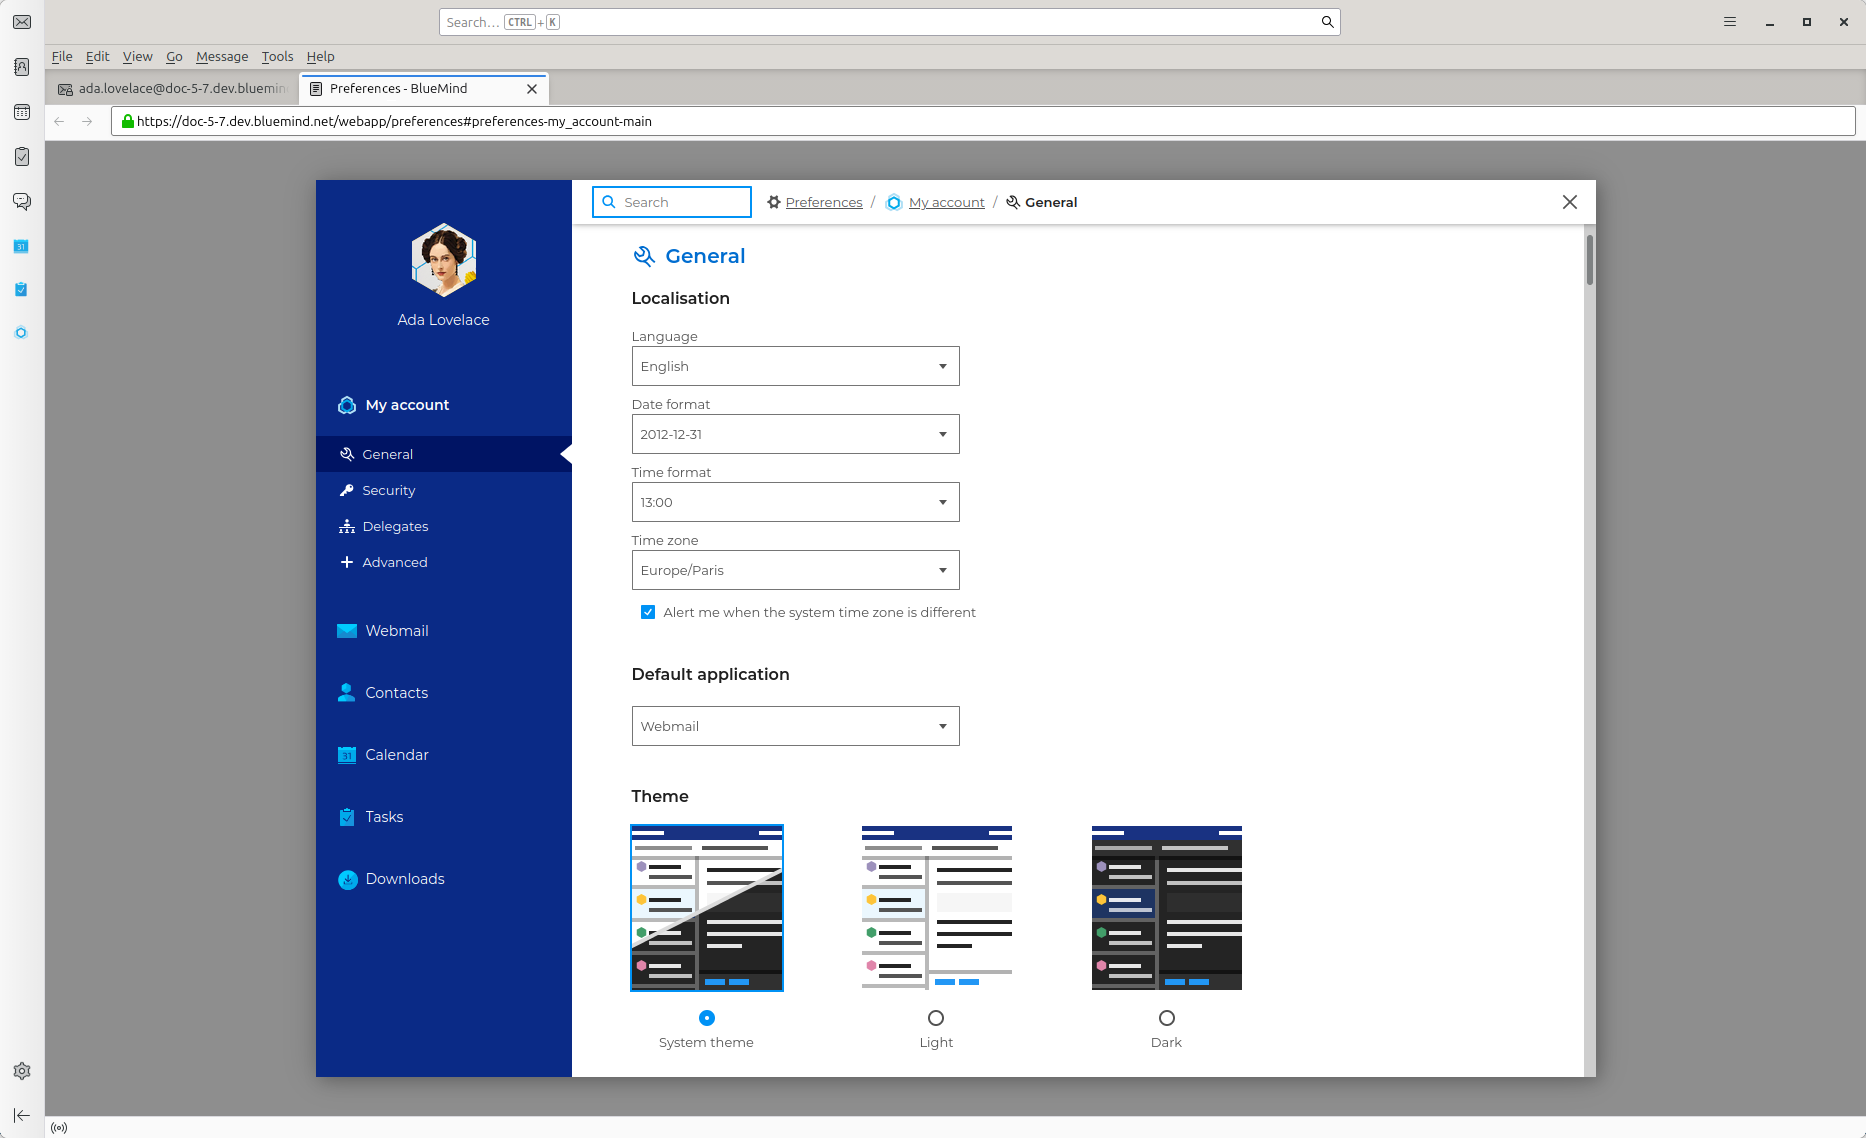
The interface appears and works in exactly the same way as the preferences management in the BlueMind web application :