Installing an Android VM
This page will walk you through installing a virtual Android environment on Linux.
If you don't need Android Studio (rich IDE), you can install only what is strictly necessary to mount an Android virtual machine.
All the information on command line tools is available here: https://developer.android.com/studio/command-line.
Prerequisites
Before you install the virtual machine, you must set up a number of environment variables and install sdkmanager.
Below you will find the actions to perform depending on your distribution (generic actions, specific commands for some distributions).
Generic Linux operations
- Install Java 8, more specifically openjdk-8 (cf. https://doc.ubuntu-fr.org/java)
- Download the command line tool: https://developer.android.com/studio#command-tools
- Decompress its contents in
/opt/android-sdksudo mkdir -p /opt/android-sdk
- Define the environment variables (cf. https://doc.ubuntu-fr.org/variables_d_environnement#variables_d_environnement_persistantes) :
**ANDROID_SDK_ROOT**=/opt/android-sdk- add to
PATH:/opt/android-sdk/emulator/opt/android-sdk/platform-tools/opt/android-sdk/tools/bin
- Give folder permissions to the group
android-sdkgroupadd android-sdkgpasswd -a $USER android-sdksetfacl -R -m g:android-sdk:rwx /opt/android-sdksetfacl -d -m g:android-sdk:rwX /opt/android-sdkchown :android-sdk /opt/android-sdk -Rchmod u+w /opt/android-sdk
- ⚠️ you must log back in or run
newgrp android-sdk - Install
tools:sdkmanager --sdk_root=/opt/android-sdk "tools"
You now have all you need to use the command line tools to manage your environment.
Specific instructions
This section describes the command lines for the steps outlined above.
Ubuntu
$ cd ~
$ wget https://dl.google.com/android/repository/commandlinetools-linux-6609375_latest.zip
$ sudo mkdir -p /opt/android-sdk
$ sudo unzip ~/commandlinetools-linux-6609375_latest.zip -d /opt/android-sdk
$ groupadd android-sdk
$ gpasswd -a $USER android-sdk
$ setfacl -R -m g:android-sdk:rwx /opt/android-sdk
$ setfacl -d -m g:android-sdk:rwX /opt/android-sdk
$ chown :android-sdk /opt/android-sdk -R
$ chmod u+w /opt/android-sdk
$ newgrp android-sdk
$ sdkmanager --sdk_root=/opt/android-sdk "tools"
Linux Architecture
cf. https://wiki.archlinux.org/index.php/Android#SDK_packages and https://wiki.archlinux.org/index.php/Android#Making_/opt/android-sdk_group-writeable
$ yay -S android-sdk
$ groupadd android-sdk
$ gpasswd -a $USER android-sdk
$ setfacl -R -m g:android-sdk:rwx /opt/android-sdk
$ setfacl -d -m g:android-sdk:rwX /opt/android-sdk
$ chown :android-sdk /opt/android-sdk -R
$ chmod u+w /opt/android-sdk
$ newgrp android-sdk
$ sdkmanager --sdk_root=/opt/android-sdk "tools"
Android Virtual Device
Managing SDKs and tools
A few useful sdkmanager commands:
$ sdkmanager --list
$ sdkmanager --update
Before you continue, make sure you have all the prerequisites set up:
- check the PATH for command access
$ echo $PATH
…:/opt/android-sdk/emulator:/opt/android-sdk/platform-tools:/opt/android-sdk/tools/bin:/opt/android-sdk/emulator
- check ANDROID_SDK_ROOT
$ echo $ANDROID_SDK_ROOT
/opt/android-sdk
- check the permissions for the installation folder
$ ll -g $ANDROID_SDK_ROOT
Permissions Size User      Group Date Modified Name
drwxrwxr-x@    - user android-sdk 14 Sep 13:13  emulator
drwxrwxr-x@    - user android-sdk 14 Sep 13:19  licenses
drwxrwxr-x@    - user android-sdk 14 Sep 13:11  patcher
drwxrwxr-x@    - user android-sdk 14 Sep 13:13  platform-tools
drwxrwxr-x@    - user android-sdk 14 Sep 13:19  system-images
drwxrwxr-x@    - user android-sdk 14 Sep 13:15  tools
- check what is installed
$ sdkmanager --list
Installed packages:=====================] 100% Computing updates...
  Path           | Version | Description                | Location
  -------        | ------- | -------                    | -------
  emulator       | 30.0.26 | Android Emulator           | emulator/
  patcher;v4     | 1       | SDK Patch Applier v4       | patcher/v4/
  platform-tools | 30.0.4  | Android SDK Platform-Tools | platform-tools/
Managing AVDs
Before you create an AVD (Android Virtual Device), you must have a system image installed on your environment.
Next you can create an AVD based on your hardware profile.
If you don't have one, install the items required:
$ sdkmanager "platform-tools" "emulator" "platforms;android-30" "system-images;android-30;google_apis;x86_64"
Finally, you can create an AVD depending on the image you want:
$ avdmanager create avd -n avd-android30-pixel -k "system-images;android-30;google_apis;x86_64" --device "pixel"
Then, you can start your AVD using command line:
$ emulator -avd avd-android30-pixel
Tips
Physical keyboard
To use your physical computer keyboard in the emulator, change the hw.keyboard variable value in the file ~/.android/avd/avd-android30-pixel.avd/config.ini
config.ini
hw.keyboard = yes
Handling the emulator
You can send commands to the emulator to simulate specific activities: receiving a text message, changing the GPS position, GSM power, etc.
The list of possible actions is available here: https://developer.android.com/studio/run/emulator-console
telnet localhost 5554

Trying ::1...
Connected to localhost.
Escape character is '^]'.
Android Console: Authentication required
Android Console: type 'auth <auth_token>' to authenticate
Android Console: you can find your <auth_token> in
'/home/user/.emulator_console_auth_token'
OK
auth FEHdxl/bQ4B24S2l
Android Console: type 'help' for a list of commands
OK
sms send 4085555555 hi there
OK
Opening a root shell
Create a root shell console on the current terminal. It has the following differences with shell adb:
- It creates a root shell that is used to modify multiple parts of the system.
- It works even if the emulated system's adb demon is faulty.
- When you click Ctrl+C (⌘C), the emulator stops instead of the shell.
cf. https://developer.android.com/studio/run/emulator-commandline#advanced
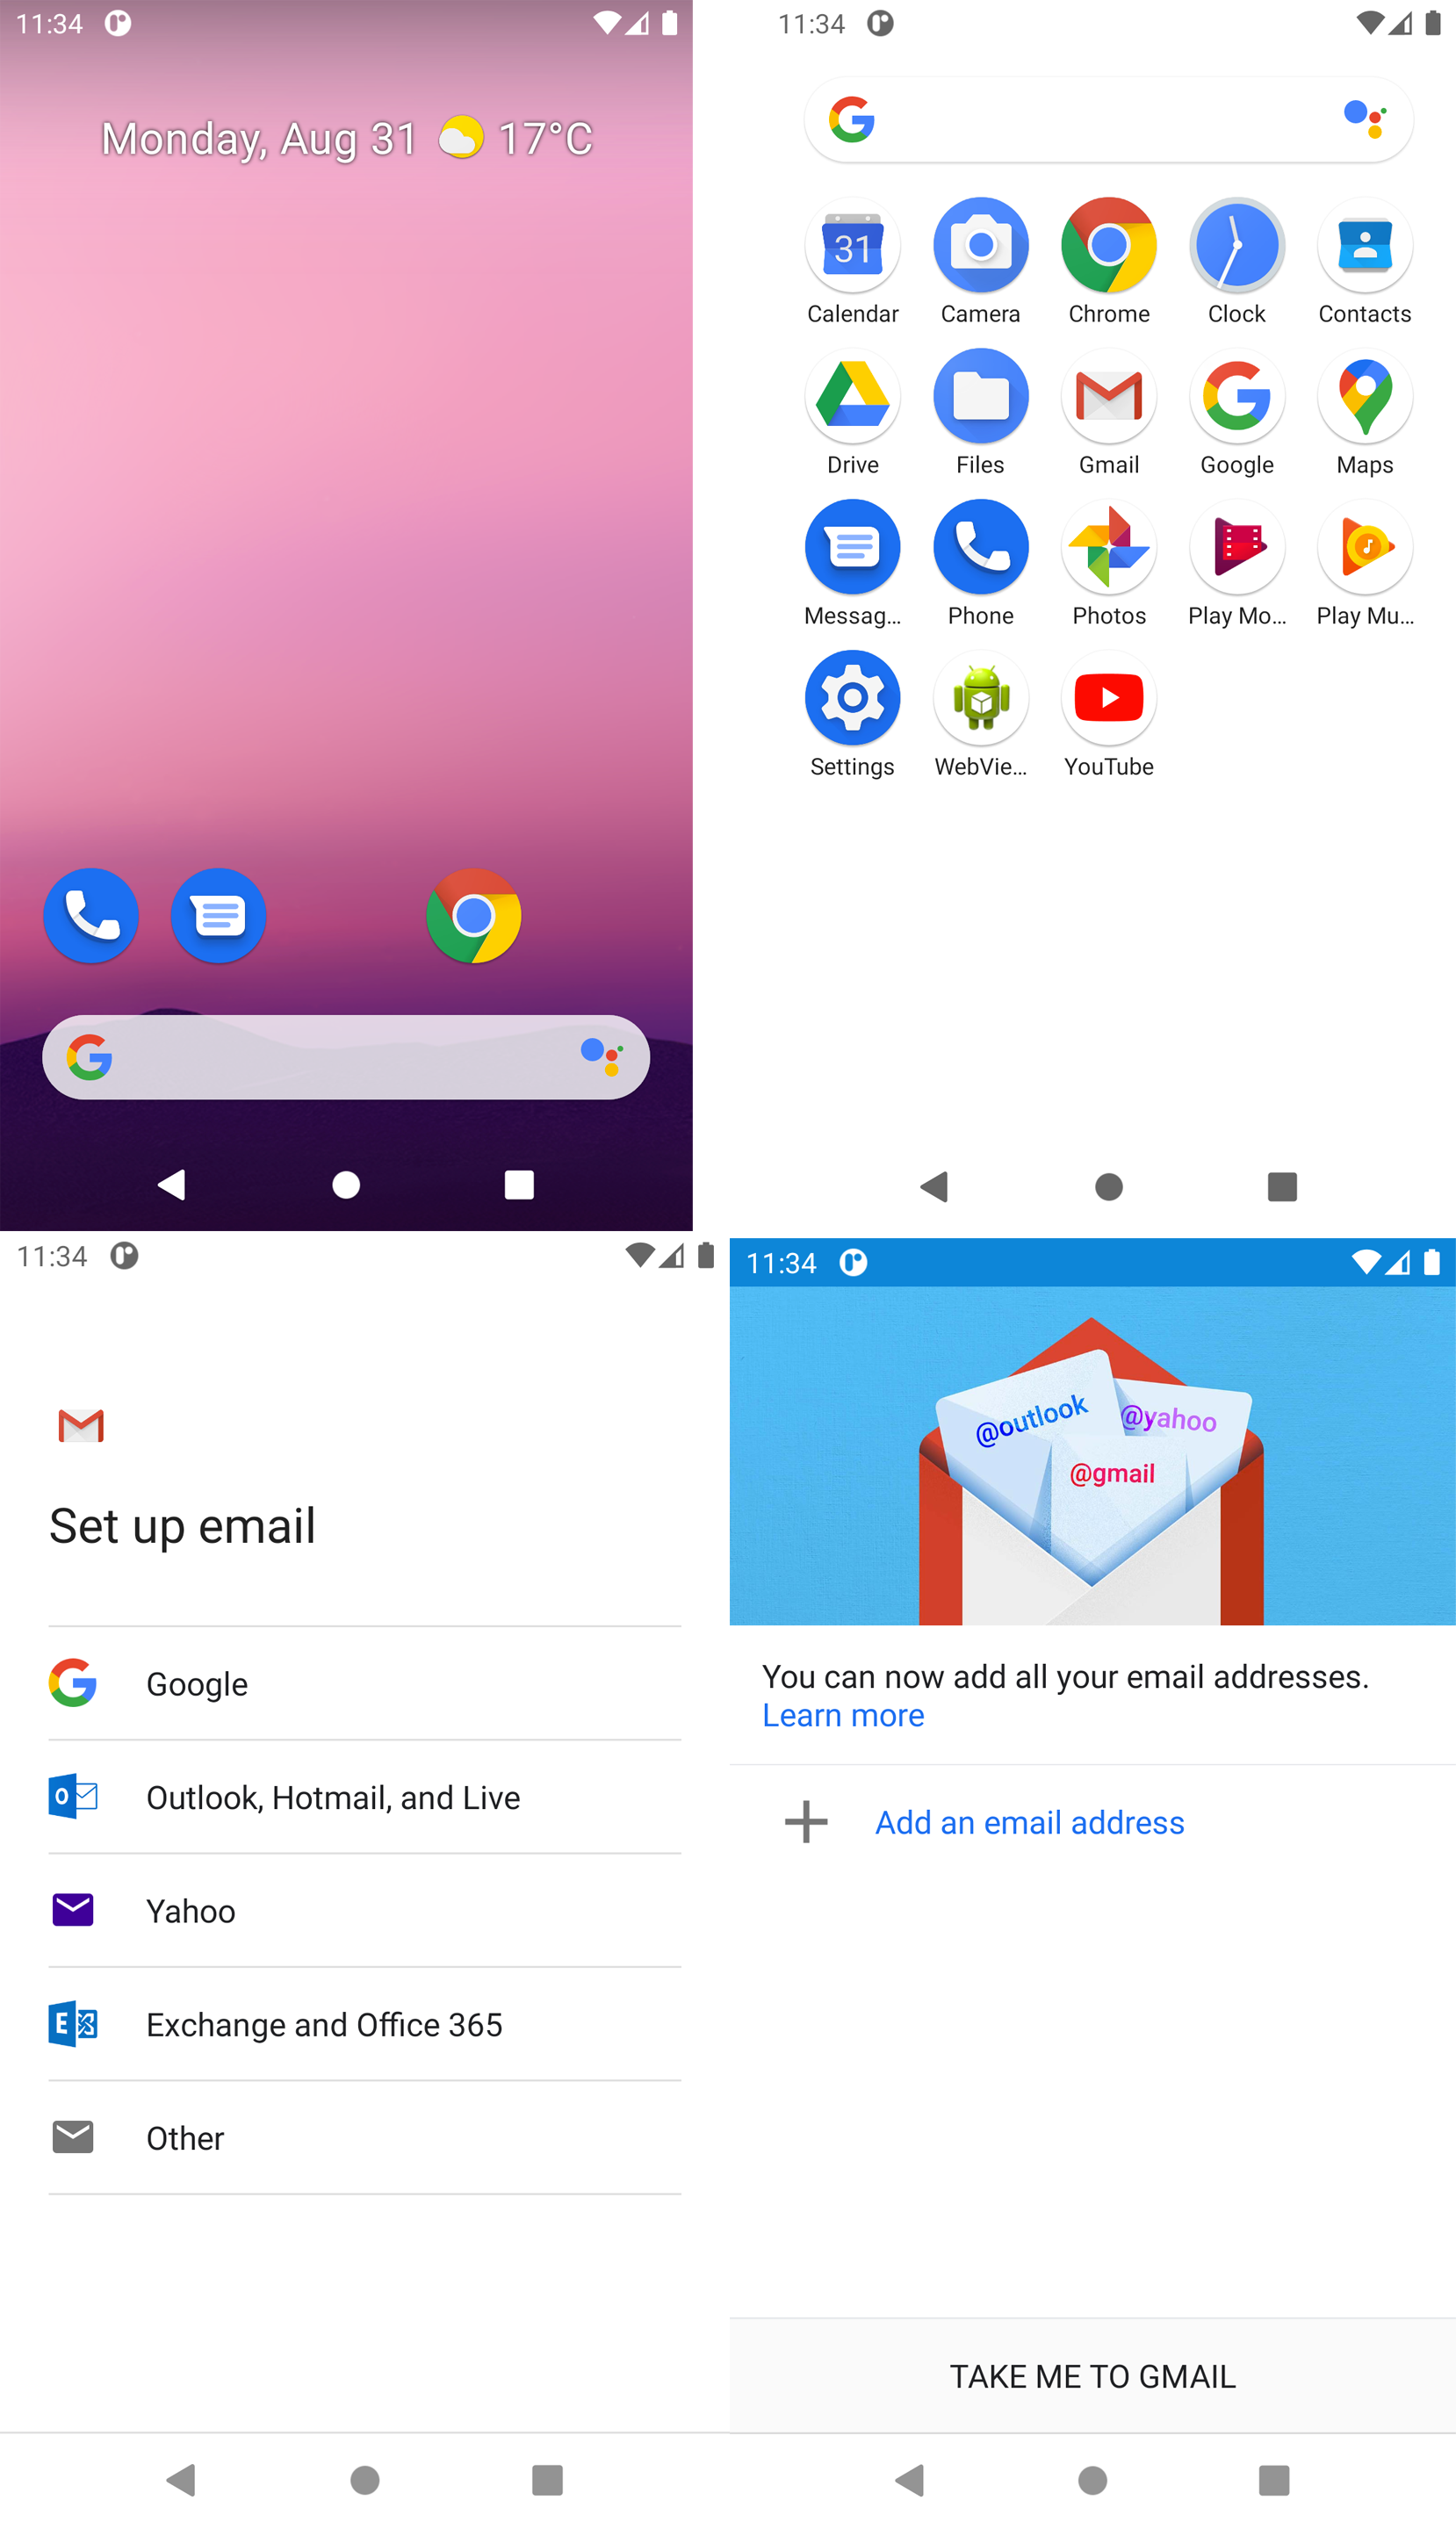
Screenshots

Known issues
sdkmanager error "Could not create settings"
Whatever the sdkmanager command, you get this response:
$ sdkmanager --list
Warning: Could not create settings
java.lang.IllegalArgumentException
    at com.android.sdklib.tool.sdkmanager.SdkManagerCliSettings.<init>(SdkManagerCliSettings.java:428)
    at com.android.sdklib.tool.sdkmanager.SdkManagerCliSettings.createSettings(SdkManagerCliSettings.java:152)
    at com.android.sdklib.tool.sdkmanager.SdkManagerCliSettings.createSettings(SdkManagerCliSettings.java:134)
    at com.android.sdklib.tool.sdkmanager.SdkManagerCli.main(SdkManagerCli.java:57)
    at com.android.sdklib.tool.sdkmanager.SdkManagerCli.main(SdkManagerCli.java:48)
Resolution
You must help the java application find the sdk root:
$ sdkmanager --sdk_root=/opt/android-sdk --list
Error "Warning: Failed to read or create install properties file."
Unable to write to the directory /opt/android-sdk.
Resolution
$ sudo chmod g+w /opt/android-sdk
Emulator error "PANIC: Broken AVD system path. Check your ANDROID_SDK_ROOT value [/opt/android-sdk]!"
Emulator error
There are two binaries in the installation: /opt/android-sdk/tools/emulator and /opt/android-sdk/emulator/emulator. It's a little obscure.
Fewer issues occur with the version installed in /opt/android-sdk/emulator (cf. sdkmanager --list). Still, according to the $PATH variable, the other binary will be used (cf. which emulator).