Getting Started with the Calendar
Finding your way around the Calendar
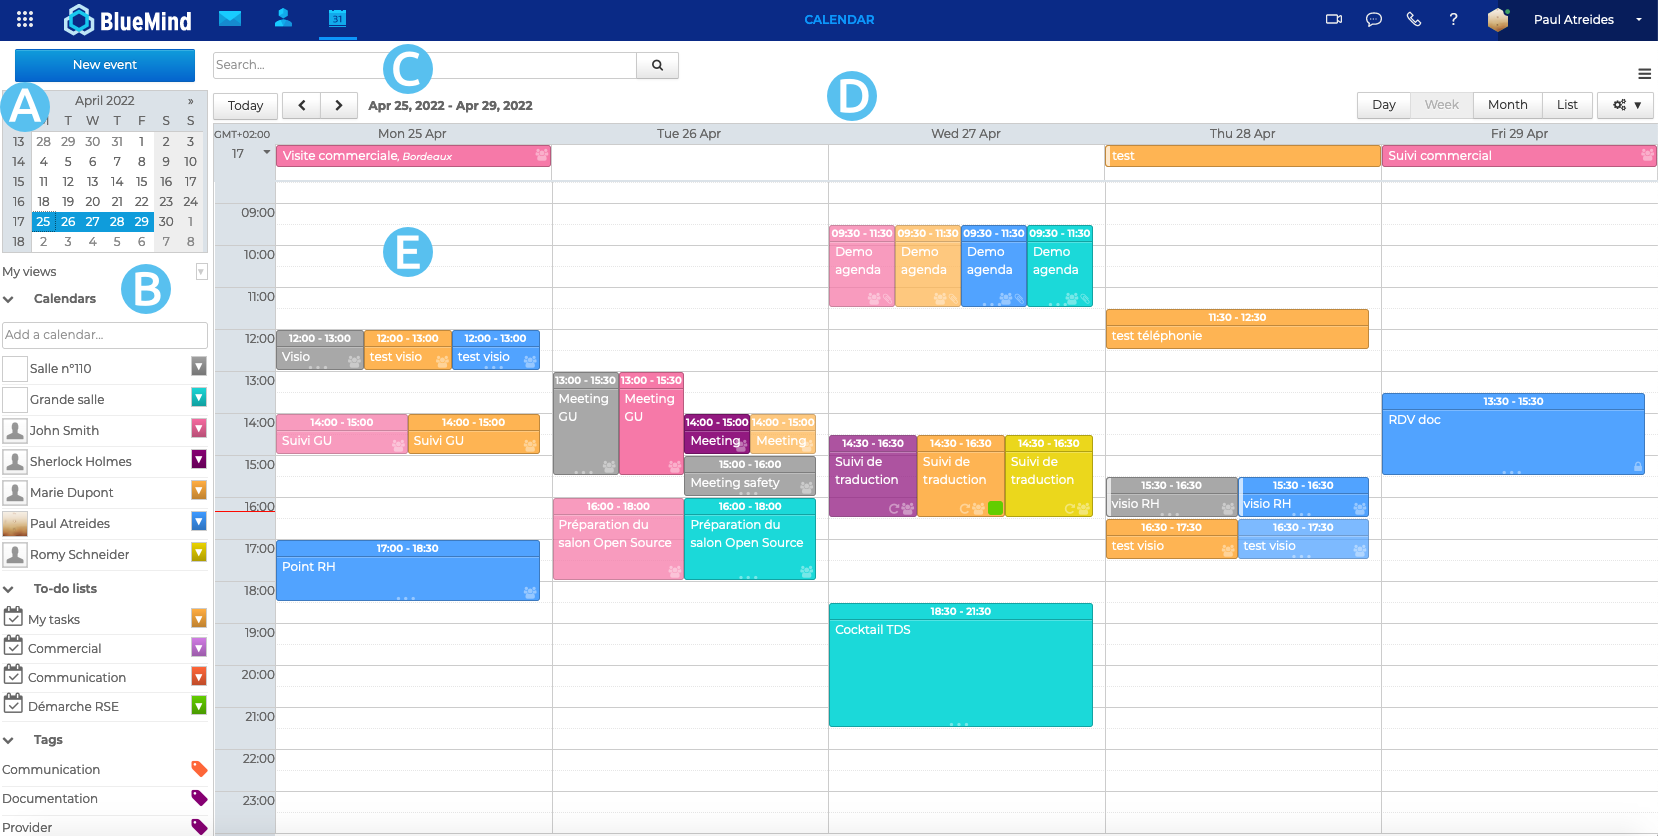
The main BlueMind Calendar view is made up of:
 : The calendar grid, which can be used to go to a date quickly. Use the arrows to scroll along the months and click the date to open the period that contains that date in the main window (day, week or month depending on the current setting).
 : The list of calendars currently displayed as well as access to views and tags
 : The search box, which can be used to find events by name, tag, detail, attendee, etc.
 : The action bar with on the left the action buttons to switch between time periods and on the right the display settings buttons and the tools' menu for printing, importing, exporting and refreshing the current view.
 : The main calendar view showing all the events for the calendars selected in area B
Displaying calendars
In addition to your default personal calendar, you can display more personal calendars (please refer to Creating and Editing Calendars) as well as calendars that have been shared with you
The list of displayed calendars is shown on the left-hand side of the page, in ![]()
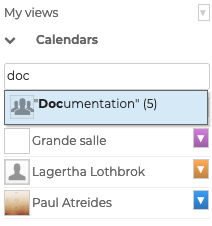
- To add a calendar, type its name in the input field and choose the calendar suggested by autocompletion:
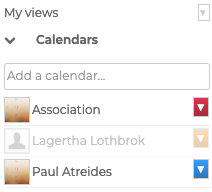
- To temporarily hide a calendar, click on its name in the list: the name becomes greyed out and the events disappear from the view:
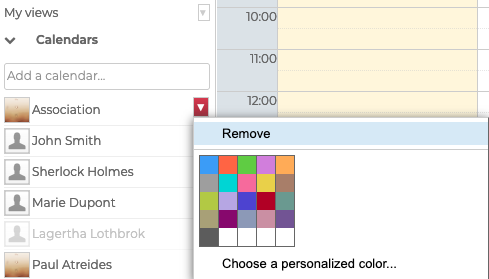
- To remove a calendar, click on the colored icon opposite its name, then click on "Delete" in the customization menu:
Managing views
BlueMind lets you save one or several calendar(s) as views. For example, to show all resources, sales, senior management, offices or team calendars in one click.
Once the chosen calendars are added to the current display, open the "My views" menu and click "Save this view":
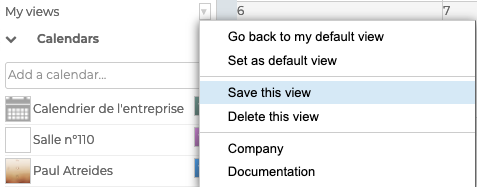
- To create a new view, enter a name in the dialog box.
- To edit a view type its name or select it in the drop-down list.
The default view is the view that is shown when you log into the application. This view cannot be deleted but it can be modified at any time.
If the default view has not been customized, it only contains your default user calendar.
To find out more about displaying calendars and managing views, please go to the page Displaying Multiple Calendars.
Viewing events
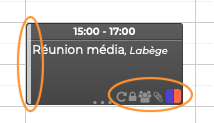
Events are shown in the color of the calendar they belong to with key information:
- time, location and title
- icons give you a quick overview of the event's characteristics (participants, private event, attachments, recurring event)
- the light side border shows your availability during the event
- tags assigned to the event are shown by the colors in the bottom right corner
Clicking an event shows additional details: organizer (if it is someone other than you), the calendar it belongs to (if it isn't yours), participants, participation editing buttons, etc. :
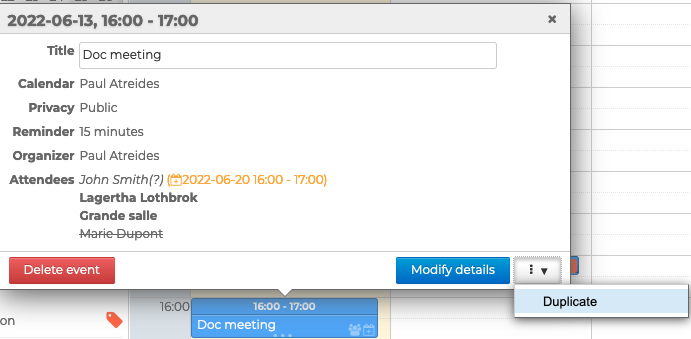
This dialog box is also used to access the event details page through the "Modify details" link (if you have permission to edit the calendar).
Creating events
To create an event:
- Quick creation:
- click the date and time you want to create the event. The default duration is 30 minutes. Hold the mouse button down and drag to highlight the desired duration.
- fill in the title and agenda in the window that opens:
- click "New event" to confirm
- Complete creation:
-
click the "New event" button in the top right-hand corner of the page or click the "Modify details" link in the dialog box.
-
fill in the desired fields, define a recurrence if required, invite participants, add a videoconference, etc.
💡 Note: only the title and date are mandatory
-
once you have entered all the information and added participants, click "Save" at the top of the page to create the event and return to calendar view
-
For more information, please refer to the pages on Creating Events and Organizing Meetings
Responding to event invitations
When someone organizes a meeting, a notification is sent by email to each invitee and the meeting is added to their calendars.
Invitees must respond to the invitation, either by accepting, accepting tentatively, or declining in the email notification or in the meeting in the Calendar.
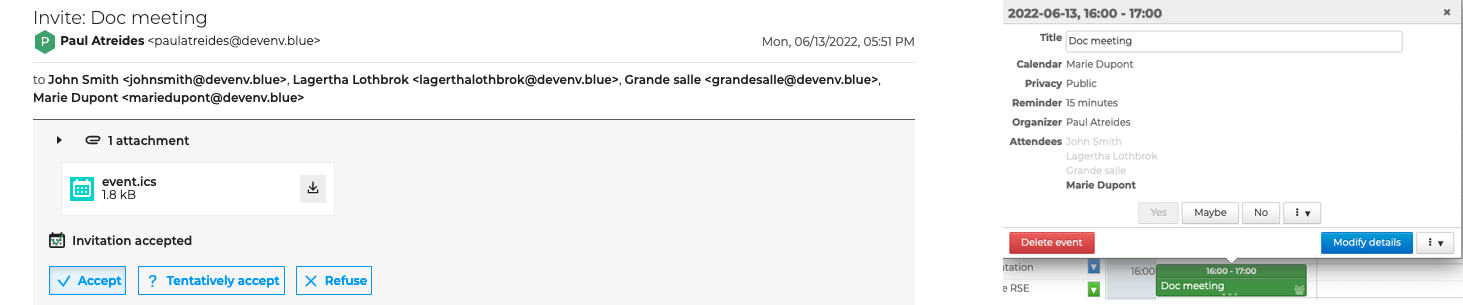
To join a videoconference, click the link in the notification email or the meeting in the Calendar.

Find out more
For further details and help, please consult Calendar