Displaying Multiple Calendars
In addition to your personal calendar, which is automatically created and displayed, you can view additional personal calendars and calendars that have been shared with you by others or by your administrator - domain calendars.
Displaying additional calendars
To display a calendar, in the Calendar application go to "Add a calendar" in the left-hand column and search for it by typing the first letters of the user's or group's name - autocomplete displays available calendars.
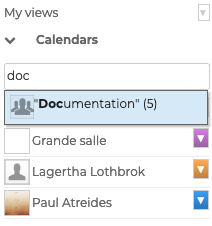
Click the calendar(s) to select it/them. The events they contain will then be displayed in the main Calendar window.
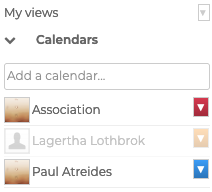
To hide a calendar temporarily, click its name in the list: the calendar's name becomes grayed out and the events disappear from the main Calendar window.
To remove a calendar, click the color icon next to its name and click "Remove" in the pop-up menu:

This menu can also be used to personalize calendar colors.
Creating views
By saving preset views, the BlueMind Calendar can give you quick access to multiple calendars (e.g. the calendars of all the members of a department) with a chosen display type (day, week, month or list).
In the example below, the user has created a monthly view that includes the company calendar and their personal calendar
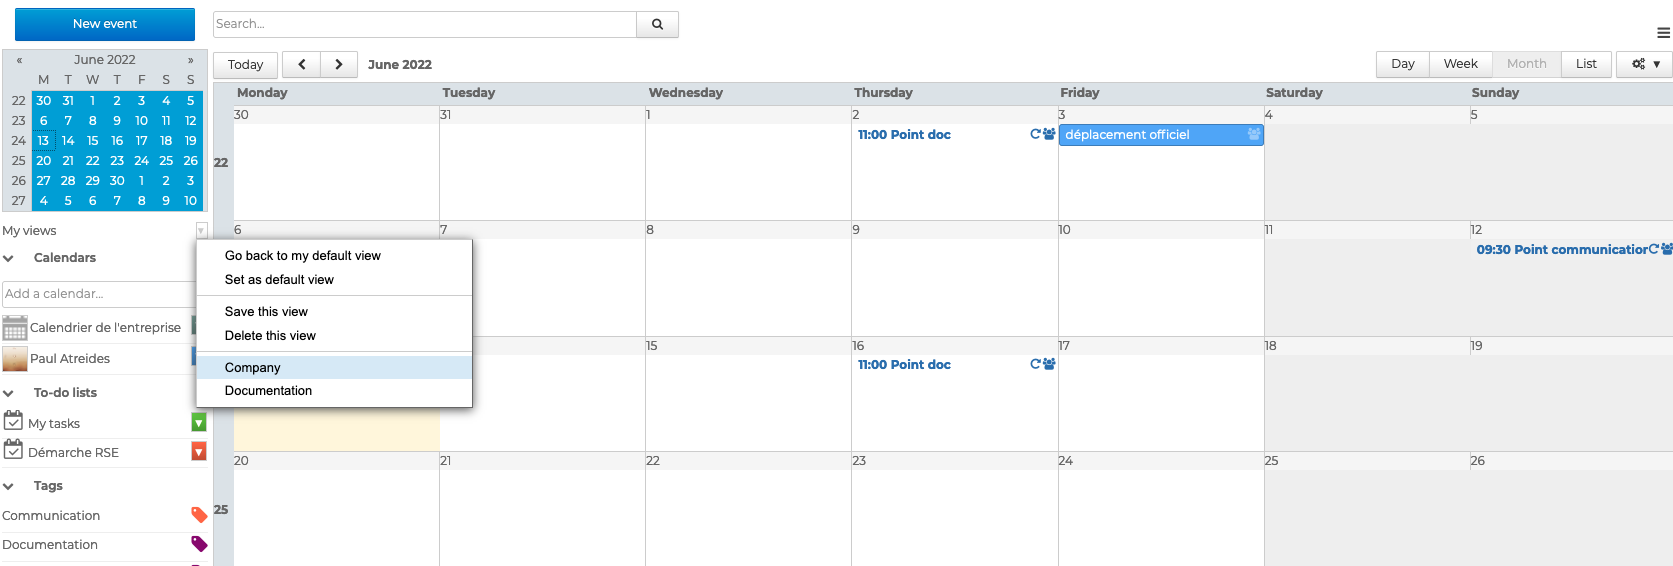
and a weekly view that includes the calendars of the documentation department.

This user can choose to display either view at any time using the "My views" menu.
To create a view:
=> select the calendars you want to display in the main Calendar window
=> choose a display type in the action bar above the calendar

=> Click "Save this view" in the "My views" menu
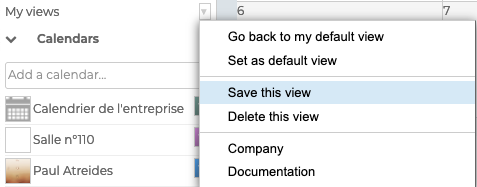
Views can be deleted or "Set as default view". The default view is the view that will be displayed when you open the Calendar application.
To reset your default view, display your calendar only and click "Set as default view".
Printing views
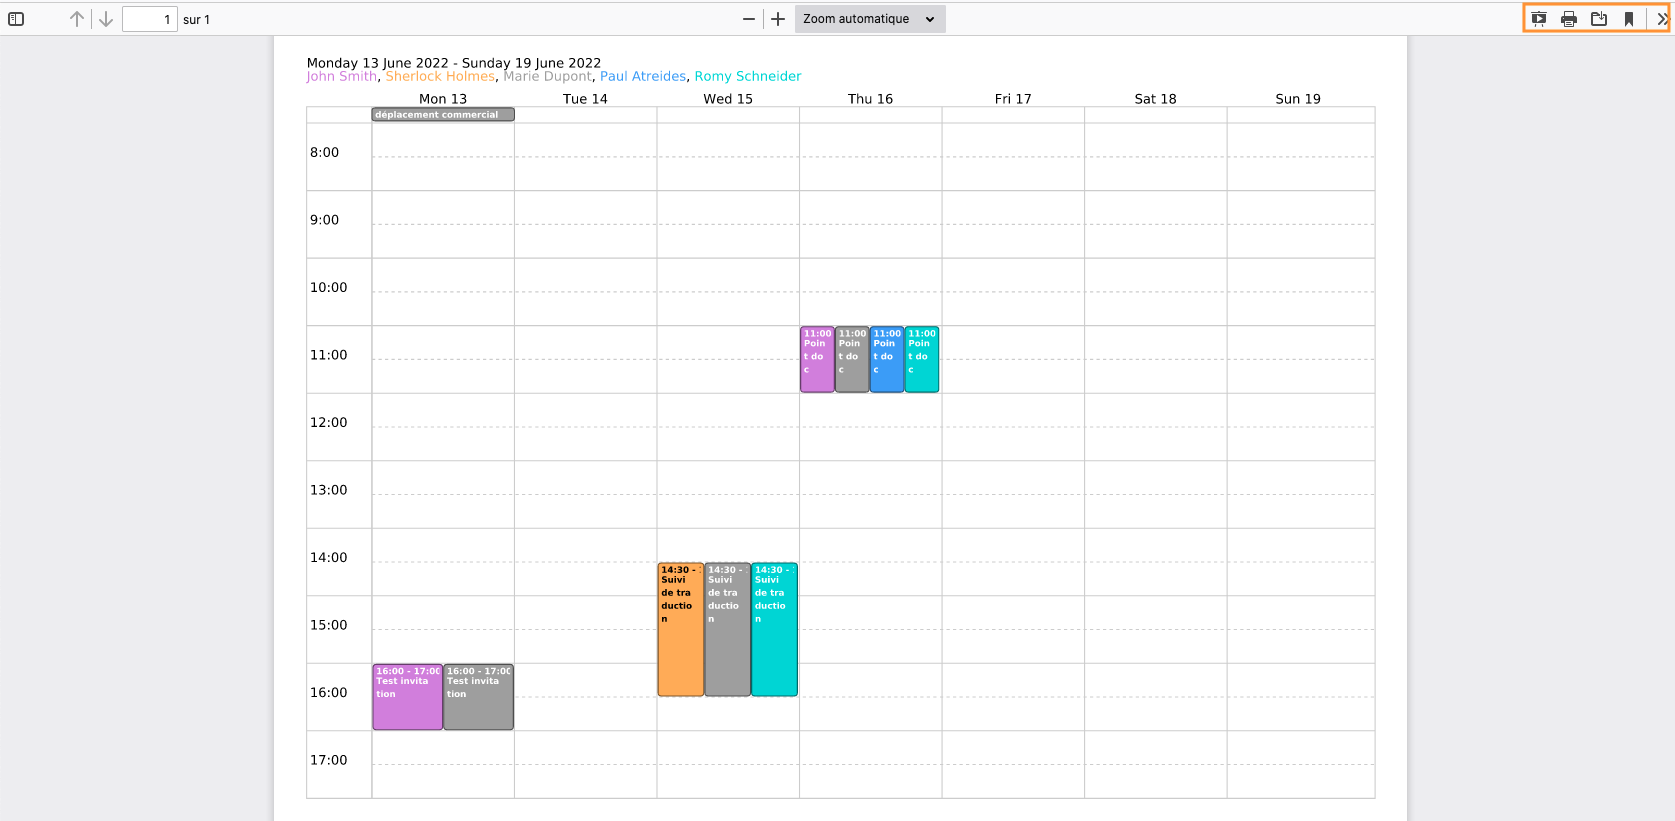
You can export calendar views as PDF and save and/or print them exactly as they appear on screen.
To do this, click ![]() in the action bar at the top of the calendar and click "Print as PDF" to open the pop-up window. Choose the page orientation, check the "black and white" box as appropriate and click "Save".
in the action bar at the top of the calendar and click "Print as PDF" to open the pop-up window. Choose the page orientation, check the "black and white" box as appropriate and click "Save".

The view opens in a new window and can be printed, saved or shared using the action buttons.